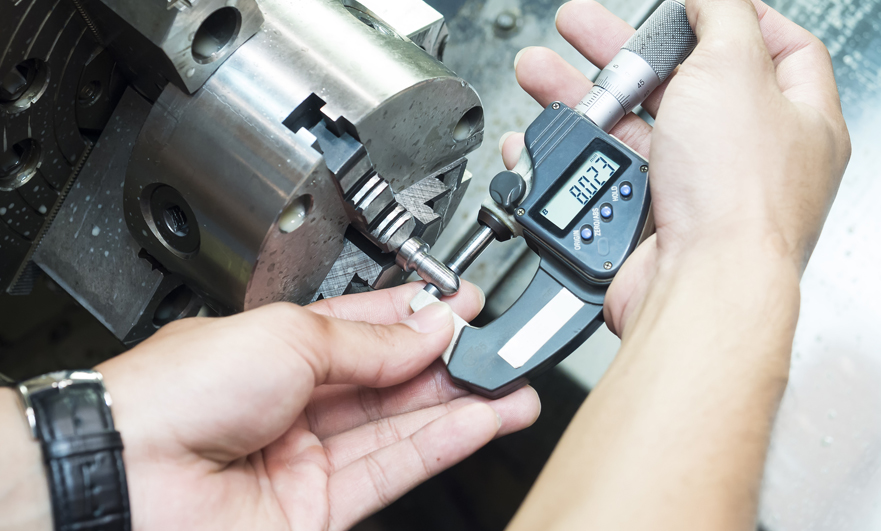
It is very important to measure the accuracy after the parts are produced. Speaking of measuring tools, we have to talk about micrometers. What role does it have as a measuring tool for mechanical parts? how to use? This article describes the relevant knowledge of micrometers.
What is a micrometer?
The micrometer is also called a spiral micrometer. It is an instrument that can accurately measure the length and radius of an object. Its accuracy is accurate to 0.01mm, which is a more accurate instrument than vernier calipers. The types of micrometers are: outer diameter micrometer, inner diameter micrometer, and depth micrometer.
4. Low cost.
What is the micrometer made of?
In order to understand the structure of the micrometer more conveniently, the micrometer is mainly composed of a ruler frame, an anvil, a micrometer screw, a fixed sleeve, a microtube, a force measuring device, and a locking device.

How is the micrometer used?
1. Clean the body and measuring anvil of the micrometer, and then calibrate the micrometer to the zero line.
2. Place the tested part between the two working surfaces and adjust the differential tube to make the working surface quickly contact the tested part.
3. Then adjust the force measuring device until it stops when you hear three clicks.
4. Reading method: the integer part of the measured value should be read on the main scale, and the decimal part should be read on the lower engraved line of the differential cylinder and the fixed sleeve.
How to read the micrometer reading?
There is more than one way to read the micrometer.
1. Make sure that the tool uses the same unit as the measuring equipment and check whether the micrometer is imperial or metric.
2. Rotate the micrometer to a suitable position when measuring the object.
3. Read the largest number, first count the quarter displayed on the sleeve, and then read the number to align with the reference line on the thimble. Finally, add these two numbers together. The sleeve can be seen as a ruler with ten numbers, and the space between each number is divided into quarters. For a sleeve, 1 corresponds to 0.100 inches, and a quarter means 0.025 inches; while on a thimble, each line is equal to 0.001 inches, for example, 11 is read as 0.011 inches.
(You can think of the marks on the sleeves as dollars and quarters, 1 means a dollar, and a quarter means 25 cents. The number on the thimble means cents, and 10 means 10 cents. Convert the final result to Inches, for example, 2 dollars and 35 cents are equal to 0.235 inches.)
The above is the relevant knowledge of CNC machining measuring tool micrometer, I hope it will be helpful to you.