The measurement methods of CNC milling parts are offline measurement (manual measurement) and online measurement (equipment measurement). Offline measurement needs to transfer the measured parts from the processing equipment to the measuring equipment, sometimes even several back and forth in a processing process, so that the cost of detecting the workpiece exceeds the processing cost of CNC milling parts. Therefore, by using online measurement instead of offline measurement, the efficiency and accuracy of online inspection are guaranteed, and the quality inspection process is closer to the processing process, thus ensuring that the CNC milling parts are qualified products when they are unloaded from the processing equipment.
Offline measurement = manual measurement. The difference is in the manufacturing process (production line), whether the measurement behavior is included in the production line (In Line) or is different from the process of the production line (Off Line). If it is a measurement case included in the production line, the usual practice is to install a sensor on the production line to continuously monitor the CNC milled parts passing under the sensor.
The key to reducing the heat source is the rotation speed, clearance adjustment and reasonable preload of the spindle bearing. For thrust bearings and tapered roller bearings, due to poor working conditions, more heat is generated. If necessary, thrust angular contact ball bearings can be used instead to minimize the friction and heat generation of certain CNC Millined parts.
Offline measurement method
1. As a qualified product, pay attention to the shape or size of the CNC milled parts (the tolerance range is poor)
2. Measure when the CNC milled part passes under the sensor
3. Make the right judgment
4. Screen out when defective products are detected, and can automatically check mass-produced CNC milling parts. Online measurement can be performed repeatedly, and does not depend on the skill or measurement method of the measurement personnel. In addition, through continuous monitoring, it is possible to grasp when the nonconforming product has started to occur, thus contributing to traceability management. Offline measurement is to manually operate the measuring instrument to obtain the measured value of each part.

Online measurement method
Laser scanning inspection refers to the method of inspecting CNC milled parts by means of laser probes. This is a non-contact inspection with fast scanning speed and appropriate accuracy. However, for CNC milled parts with complex structure, some occluded parts cannot be measured, and the influence of ambient light on it is very obvious, which will bring certain restrictions and restrictions.
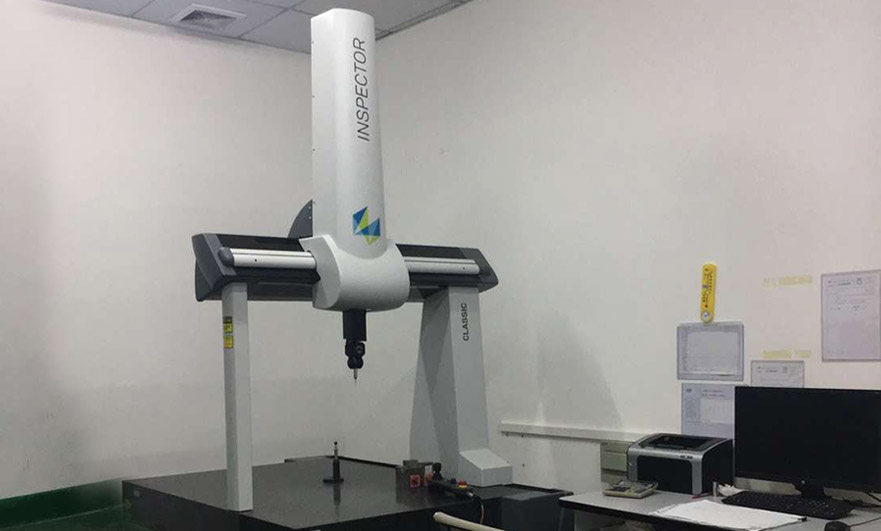
Coordinate measuring machine inspection is a typical contact measurement, relying on the coordinate measuring machine as the inspection tool to detect CNC milling parts. The measurement accuracy is high, and there is a certain range of application in the detection; but the working conditions are harsh, the detection process is cumbersome, time-consuming and labor-intensive; it can only be used for offline quality inspection; the repair process is complicated, cumbersome, time-consuming, and labor-intensive; inaccurate positioning may easily cause additional Error; bulky and expensive.
Industrial CT detection is the abbreviation of industrial computer tomography or industrial computer tomography. This technology is an imaging technology produced by the combination of radiology and computer science, and has its unique advantages in the field of non-destructive testing or non-destructive evaluation. Industrial CT has strong detection capabilities, high precision, quantitative three-dimensional imaging, and is suitable for automatic detection. However, it is mainly used in developed countries and its application in China has just started. It is mainly used for research in the defense industry. Due to its high price, it is used in civilian products. The use is still very small.
On-line inspection of machining center means that the tool magazine of the machining center is equipped with an inspection probe. When inspection is needed, the probe is switched from the tool magazine for inspection, and the CNC milling parts are further processed according to the inspection results. The machining center has obvious advantages in processing products with complex curved surfaces. It has a large degree of freedom and avoids multiple clamping of CNC milling parts, but it has a long manufacturing cycle and high production costs. It is widely used in parts with complex structures.
This is our CNC milling inspection method today. For more information, please contact the CNCMF precision milling parts website for details.