Surface Roughness Inspection and Analysis for Aluminum CNC Machined Parts
When it comes to manufacturing precision components from aluminum through CNC machining, one crucial aspect that demands attention is the surface finish. The surface roughness of aluminum CNC machined parts plays a pivotal role in determining the component’s quality, functionality, and aesthetics. In this article, we will delve into the importance of surface roughness, methods for inspection and analysis, and how to optimize it for your CNC-machined aluminum parts.
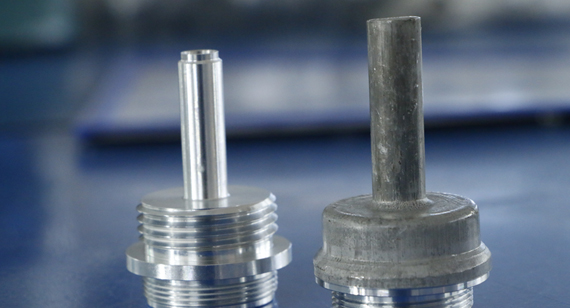
Importance of Surface Roughness
The surface roughness of a CNC-machined aluminum part refers to the irregularities, variations, and imperfections on the component’s surface. It is quantified using parameters such as Ra (average roughness), Rz (maximum height of profile), and Rt (total height of profile). Achieving the right surface roughness is essential for several reasons:
Aesthetics: In applications where the appearance of the part matters, such as consumer electronics or decorative items, a smooth and aesthetically pleasing surface is essential.
Functionality: In precision engineering, maintaining the correct surface roughness is critical. In cases like sealing surfaces or sliding components, the wrong surface finish can lead to poor performance or premature wear.
Reducing Friction: In moving parts, surface roughness affects friction and lubrication. The right roughness can reduce friction, extending the part’s lifespan and reducing energy consumption.
Corrosion Resistance: A well-finished surface is less susceptible to corrosion. This is crucial in applications where the part is exposed to harsh environmental conditions.
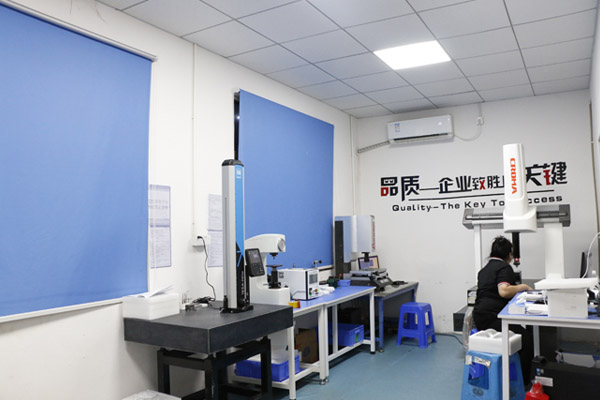
Methods for Surface Roughness Inspection
To ensure that CNC-machined aluminum parts meet the desired surface roughness standards, various methods are employed for inspection and analysis. These methods include:
Contact Profilometers: Profilometers use a stylus to physically measure the surface’s profile. These measurements are then used to calculate roughness parameters such as Ra, Rz, and Rt. Contact profilometers are precise but may not be suitable for delicate or very rough surfaces.
Optical Profilometers: Optical profilometers use cameras and optical sensors to create a 3D image of the surface. They are non-contact instruments, making them ideal for delicate surfaces. They provide detailed roughness data, including texture and defects.
White Light Interferometry: This non-contact method uses interference patterns created by white light to measure surface roughness with high precision. It’s suitable for both smooth and rough surfaces.
Atomic Force Microscopy (AFM): AFM uses a sharp tip to scan the surface at the atomic level, providing extremely high-resolution roughness data. It’s ideal for research and development but may not be practical for large-scale inspection.
Optimizing Surface Roughness in Aluminum CNC Machining
Achieving the desired surface roughness for your aluminum CNC-machined parts requires careful consideration at various stages of the manufacturing process:
Tool Selection: The choice of cutting tools significantly impacts surface roughness. Select appropriate tool geometries, coatings, and materials to achieve the desired finish.
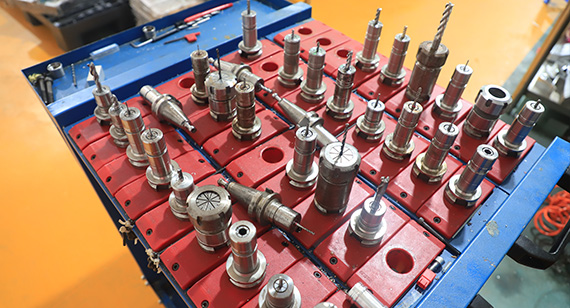
Cutting Parameters: Adjust cutting speed, feed rate, and depth of cut based on the material and geometry of the part. Experiment with different combinations to find the optimal parameters.
Workpiece Material: The type of aluminum alloy used affects surface finish. Some alloys are naturally smoother than others. Choose the alloy that suits your application.
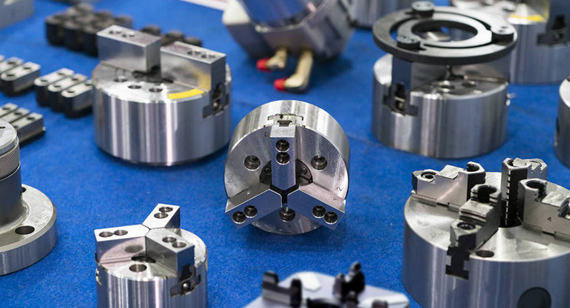
Fixturing and Vibration Damping: Secure the workpiece properly to minimize vibrations during machining, which can result in rough surfaces. Dampening methods like anti-vibration toolholders can help.
Coolant and Lubrication: Proper coolant and lubrication methods can improve surface finish by reducing friction and heat during machining.
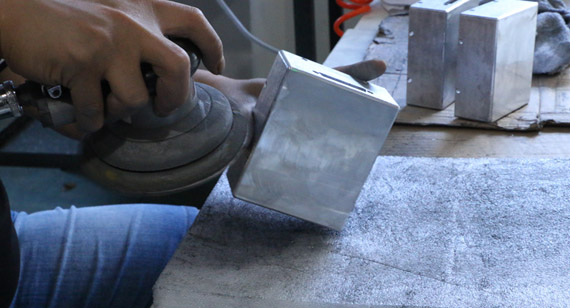
Post-machining: Consider post-processing steps like sanding, polishing, or anodizing to further enhance surface finish.
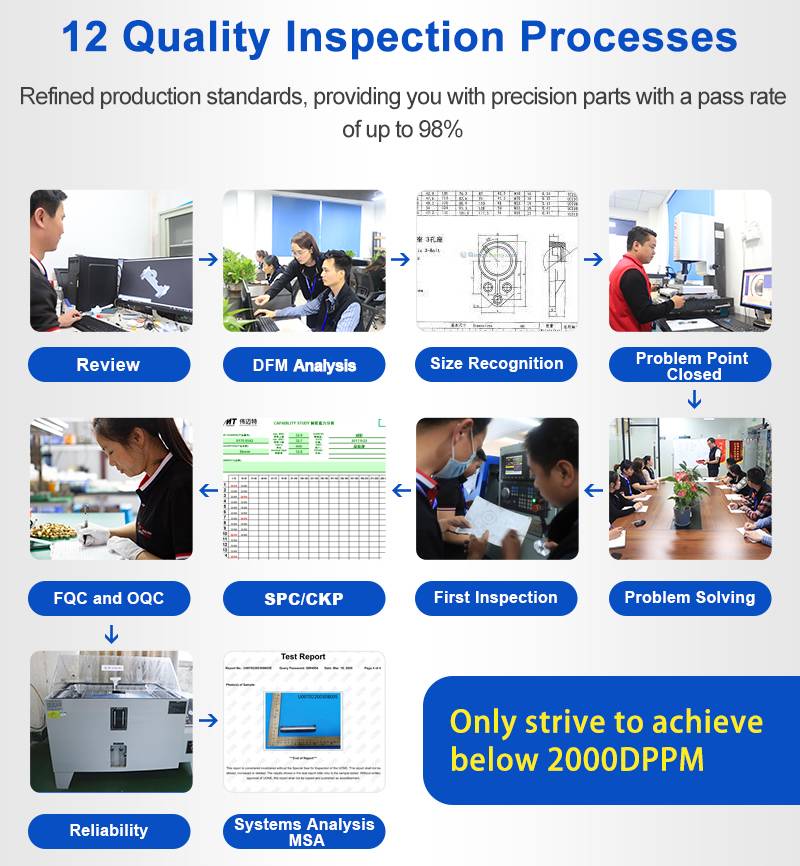
Quality Control: Implement regular quality control checks to monitor surface roughness throughout the CNC machining production process.
In conclusion, achieving the right surface roughness in CNC-machined aluminum parts is crucial for both functionality and aesthetics. It demands careful selection of tools, cutting parameters, and materials, along with the use of advanced inspection methods. By optimizing these factors, you can consistently produce aluminum parts with the desired surface finish, meeting your project’s requirements.